Before you begin, make sure you know (at least roughly) the measures of your cockpit. In my case, the room has 3,80×3,20m which is only just enough for a double-seater cockpit including the cockpit-shell. I decided not to make the floor construction as big as the room is, but to leave about 50-60cm free space around the whole construction for possible maintenance reasons. Make your own thoughts of how you might realize this best, depending on your situation.
Choosing the right kind of material
It was pretty hard to find out, which kind of material the floor of an Airbus A320 cockpit is made of. After checking hundreds of pictures, I think it’s some kind of vinyl. After some research however, I decided to use antistatic carpet tiles in my project, because they’re robust, they can be easily replaced when damaged and they’re easy to install. The tiles were mounted by double-sided tape onto 23mm OSB (oriented strand board), which is carried by several 78x78mm wood posts.
If you want to make your simulation experience a little bit more realistic, mount some body shakers under the floor. Those will later simulate runway bumping or gear down effects! Another option is, to mount them unter your seats. I decided to try the floor first. You can find those body shakers cheap on ebay.
-
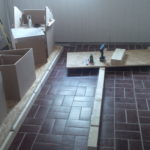
- Laying the wood posts
-
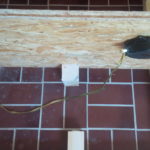
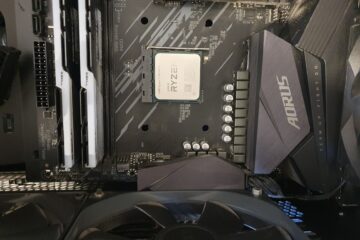
- Bodyshaker under the floor for good vibrations
-
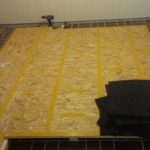
- Double-sided tape
-
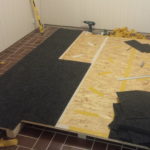
- Laying the tiles
-
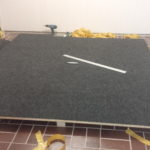
- Floor construction completed
Some important tips if you decide for this kind of floor construction:
- Please take care of that your floor construction is completely even on one level and it is adequately supportet by wood. Otherwise it will begin to creak after some time (like in my case) and then you’ve got to rework the whole thing 🙁
- The tiles tend to shrink after some time. So when laying them, make sure you place them very close-fitting to the next one.
- It’s absolutely no bad idea to make a plan, where your cables and wood posts are located beneath the floor.
What kind of floor-construction do you have in your cockpit-project? I would love to hear! 🙂


0 Comments